
A week-by-week guide to getting site access right from day one
Getting construction site access wrong costs time, money, and reputation. A lorry stuck in mud on day three, a pedestrian route that crosses a vehicle turning circle, or a stretch of unprotected ground that turns into a bog after one week of rain -- these are the problems that come from treating access as an afterthought.
A proper access plan is not just about laying a few mats. It sits at the heart of CDM compliance, keeps the programme on track, and protects both people and ground. This checklist runs through the key decisions, week by week, so nothing slips through the cracks.
Pre-start: planning and compliance
Before a single panel arrives on site, several things need locking down.
- Appoint a Principal Designer and Principal Contractor under CDM 2015. Site access is a design risk that must be managed from the outset.
- Carry out a site survey. Identify ground conditions, slopes, drainage, and any buried services that could affect vehicle routes or ramp positions.
- Map all vehicle routes -- delivery vehicles, heavy plant, and site traffic. Mark turning circles, passing points, and one-way systems.
- Map all pedestrian routes separately. Pedestrians should never share a route with moving plant unless there is a physical barrier segregating them.
- Identify where trackway is needed for vehicle routes and where walkway is sufficient for foot traffic. Using the right product for the load saves money and prevents failures.
- Plan ramp locations for any level changes, thresholds, or cable crossings. Protection ramps keep hoses and cables safe under vehicle and foot traffic.
- Design the fencing and barrier layout. Heras panels, hoarding, or pedestrian barriers -- decide which goes where and how it integrates with access routes.
- Write a site-specific traffic management plan. Include speed limits, signage, and a banksman protocol for reversing vehicles.
- Check that the welfare facilities position does not obstruct any planned access route.
- Confirm hire quantities and delivery dates with your supplier. Last-minute substitutions rarely end well. Our nationwide trackway hire covers delivery, installation and collection in one booking.
Week 1: site setup
The first week on site sets the tone for the entire project. Getting the access infrastructure in early prevents problems from compounding later.
- Install perimeter fencing first. Secure the site boundary before any materials or equipment arrive.
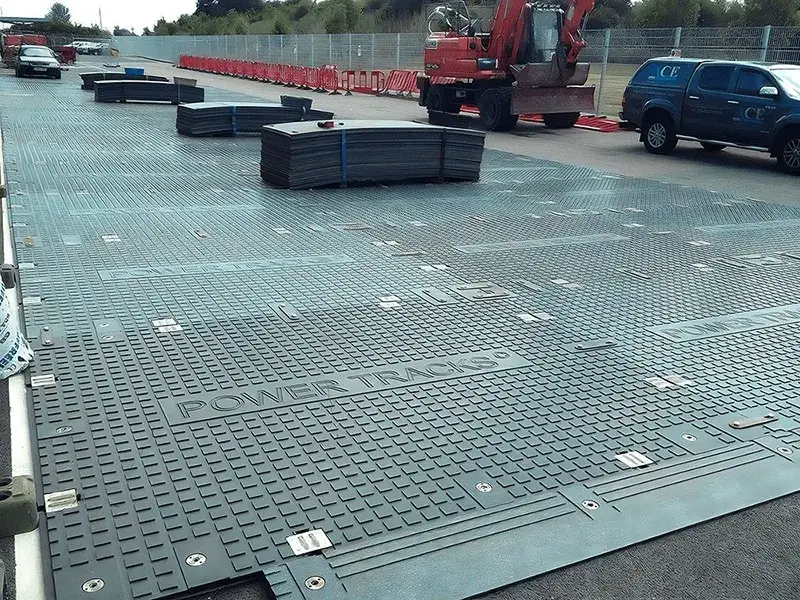
- Lay primary vehicle trackway on the main access road and compound area. This is the backbone of the site -- do it before heavy deliveries start.
- Lay pedestrian walkway on all designated foot routes. Separate them from vehicle routes with barriers from day one.
- Position protection ramps over any cables or hoses that cross access routes. If it carries traffic, it needs a ramp.
- Install site signage: speed limits, pedestrian crossing points, one-way systems, and delivery directions.
- Brief all subcontractors on the traffic management plan before they bring vehicles onto site.
- Walk the full access route with the site manager and the health and safety representative. Flag any pinch points or visibility issues immediately.
- Set up a designated delivery holding area so lorries are not queueing on the public highway.
During works: maintaining safe access
Access is not a one-and-done job. Conditions change as the project progresses, and the plan needs to keep up.
- Inspect all trackway and walkway weekly. Look for displaced panels, edge lifting, or excessive wear. Replace or relay anything that is no longer fit for purpose.
- Check that pedestrian segregation barriers are still in place and have not been moved by subcontractors.
- Inspect protection ramps for cracking, movement, or exposed cables. A damaged ramp is a trip hazard and an electrical risk.
- Review the traffic management plan whenever the site layout changes. New excavations, material storage areas, or crane positions may require route adjustments.
- Keep access routes clear of stored materials. A walkway is not a storage area.
- Monitor ground conditions, especially after heavy rain. What was firm in week one may be soft in week four. Add supplementary trackway if needed.
- Maintain a log of access-related near misses or incidents. Review it at site progress meetings.
Completion and demobilisation
The end of a project brings its own access challenges. Demobilisation traffic, removal of protection, and reinstatement all need planning.
- Schedule demobilisation in reverse order. Remove walkway last if pedestrians are still on site.
- Inspect the ground beneath all trackway and walkway before lifting. Note any damage for the reinstatement plan.
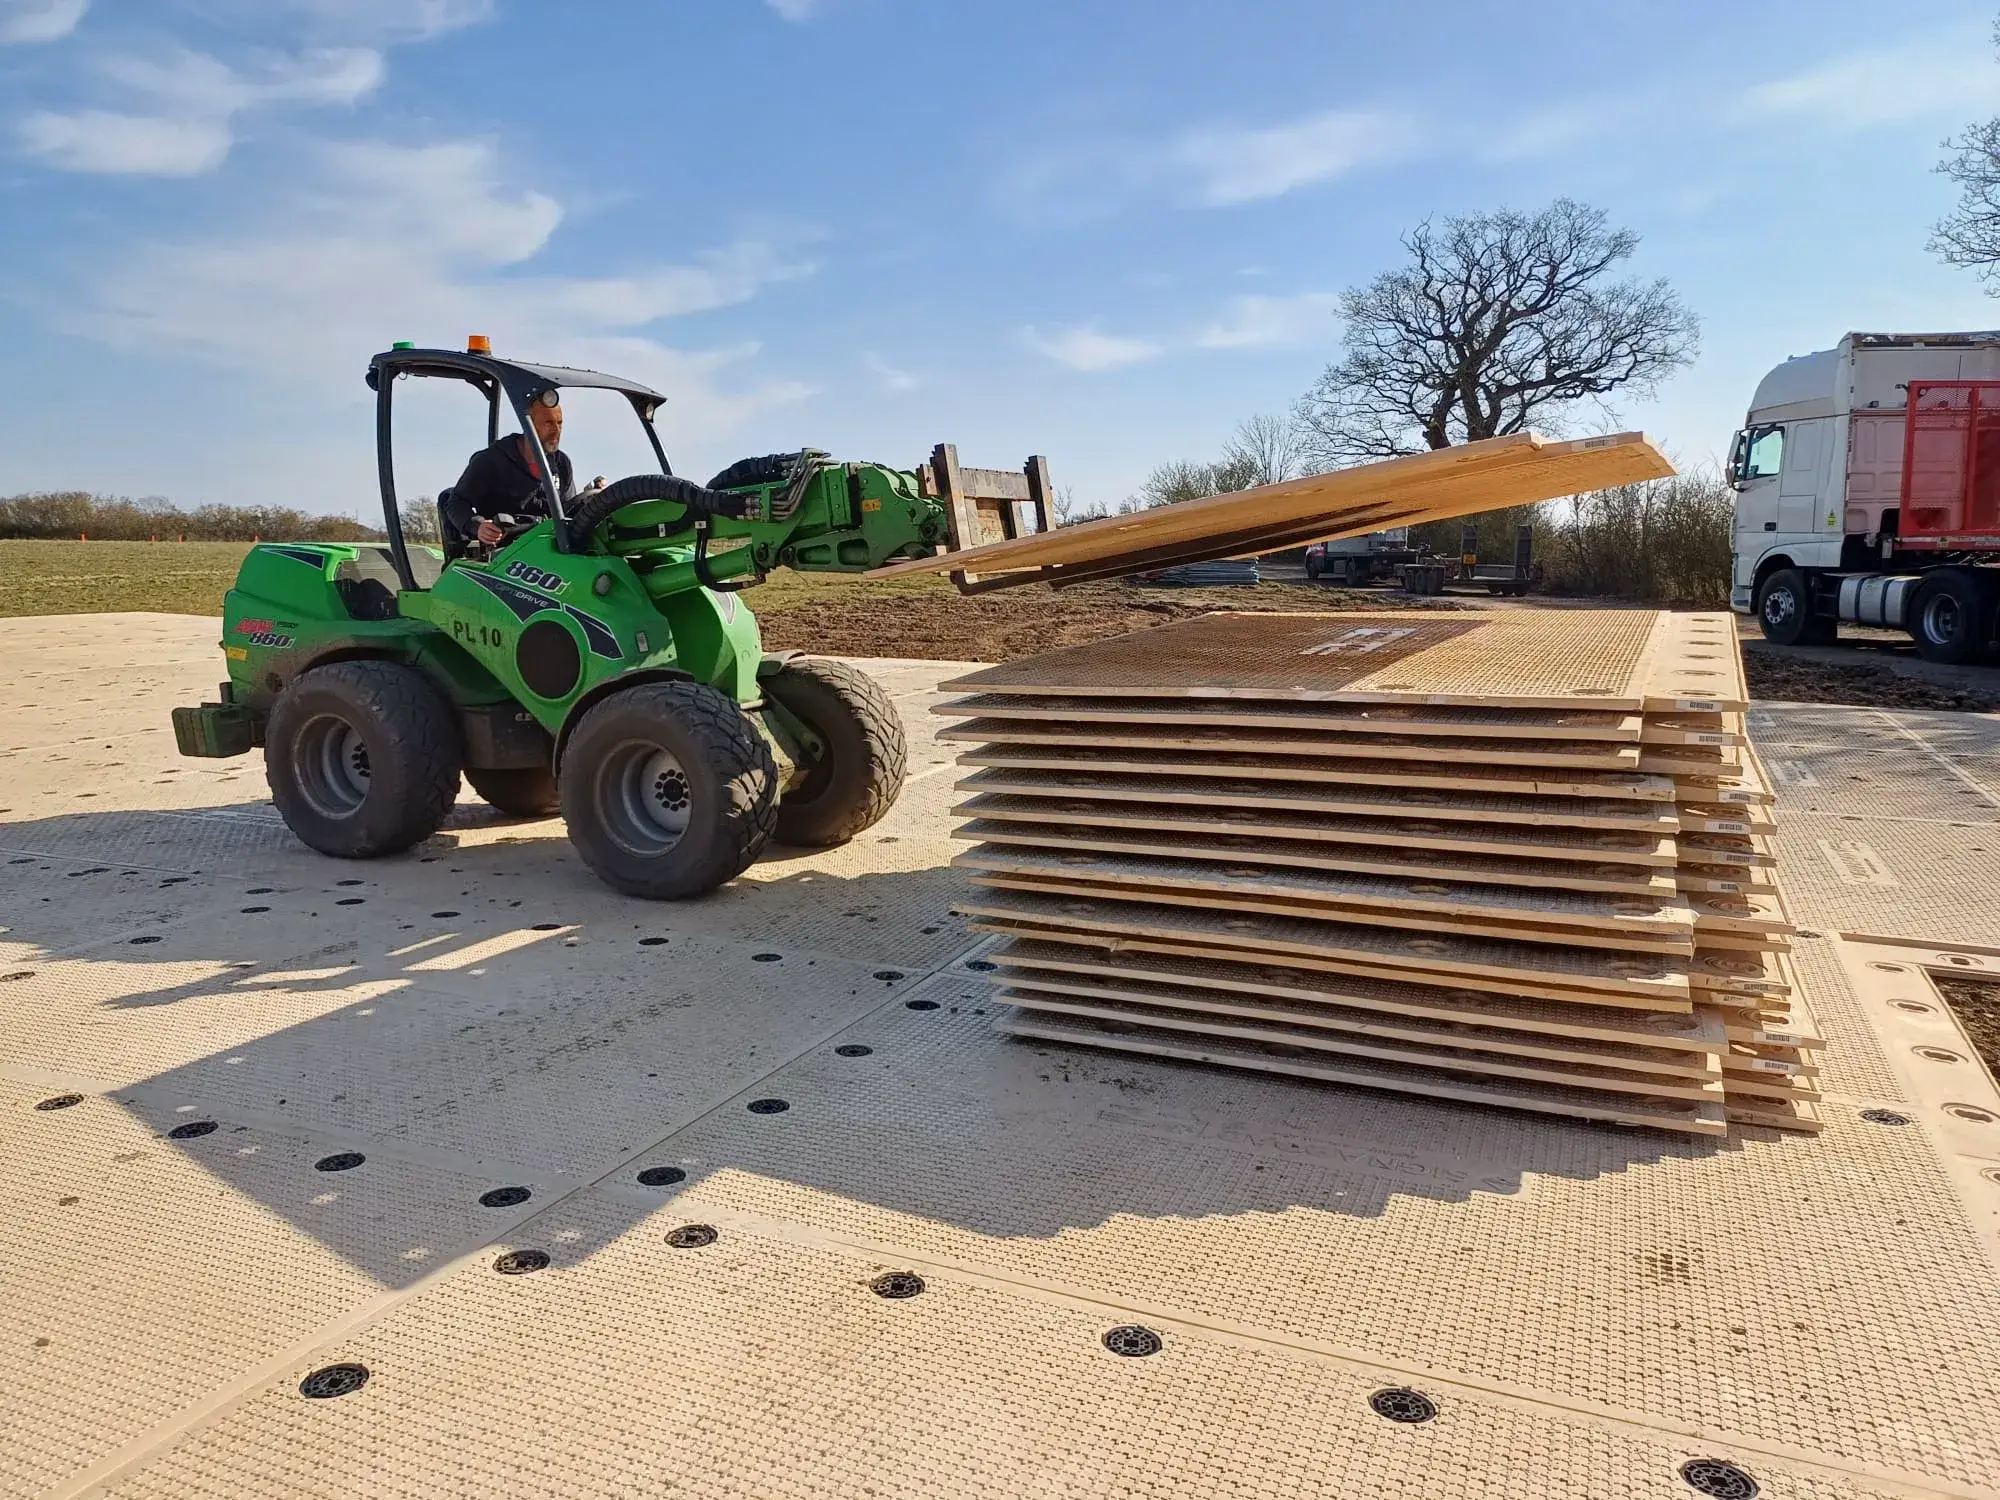
- Lift and clean all panels. Stack them properly for collection -- damaged stacking shortens product life and increases hire costs.
- Remove protection ramps only after all cables and hoses have been disconnected and cleared.
- Dismantle temporary fencing once the site is clear and secure by other means.
- Conduct a final walk-through with the client or principal contractor. Confirm that ground conditions are acceptable and that no access-related snagging remains.
- Archive the traffic management plan and any incident logs. They will inform the next project and demonstrate CDM compliance if questions arise later.
Products mentioned in this article
- Trackway -- heavy-duty ground protection for vehicle access, HGVs, and heavy plant
- Walkway -- pedestrian panels for safe foot traffic and wheelchair access
- Protection Ramps -- cable and hose protection for vehicle and foot crossings
- Fencing & Barriers -- Heras panels, hoarding, and pedestrian barriers for site security
You may also be interested in
- Ground Protection for Crane Pads and Outriggers: learn which ground protection mats prevent sinking, meet lift plan requirements, and keep crane operations safe on soft ground.
- Ground Protection for Utility Works: how temporary trackway, walkway, and cable protection keep utility and construction projects moving on soft ground.
A well-planned access strategy is one of the cheapest insurance policies a construction project can have. It keeps people safe, protects the ground, and stops the programme slipping. If you would like help planning your next site, get in touch -- we have been supplying construction access solutions across the UK for over 20 years.